
Are you doing a DIY pool replaster project? Maybe you just want to know what you’re getting into before you hire a pool contractor to have your pool replastered? Either way, knowing the basics behind the pool replaster process is vital for any pool owner. Here’s why.
Applying a new plaster to a pool is not rocket science; I’ll give you that. But it entails work and tasks that require the skills of a trained and experienced professional. So, unless you’ve been doing this for a living, you better leave it in the hands of the pros. That said, we’ll start by talking about the first, and arguably one of the most crucial steps in the pool replaster process – draining the pool.
Pool Draining
It looks and sounds easy, but there’s a science to draining your pool. When done incorrectly, the water from the pool can be absorbed by the ground below, developing hydrostatic pressure that causes the pool to pop out. Regardless if it’s a concrete, gunite, fiberglass, or vinyl, as long as it’s an in-ground concrete pool, the pressure below can push the entire structure out of the ground.
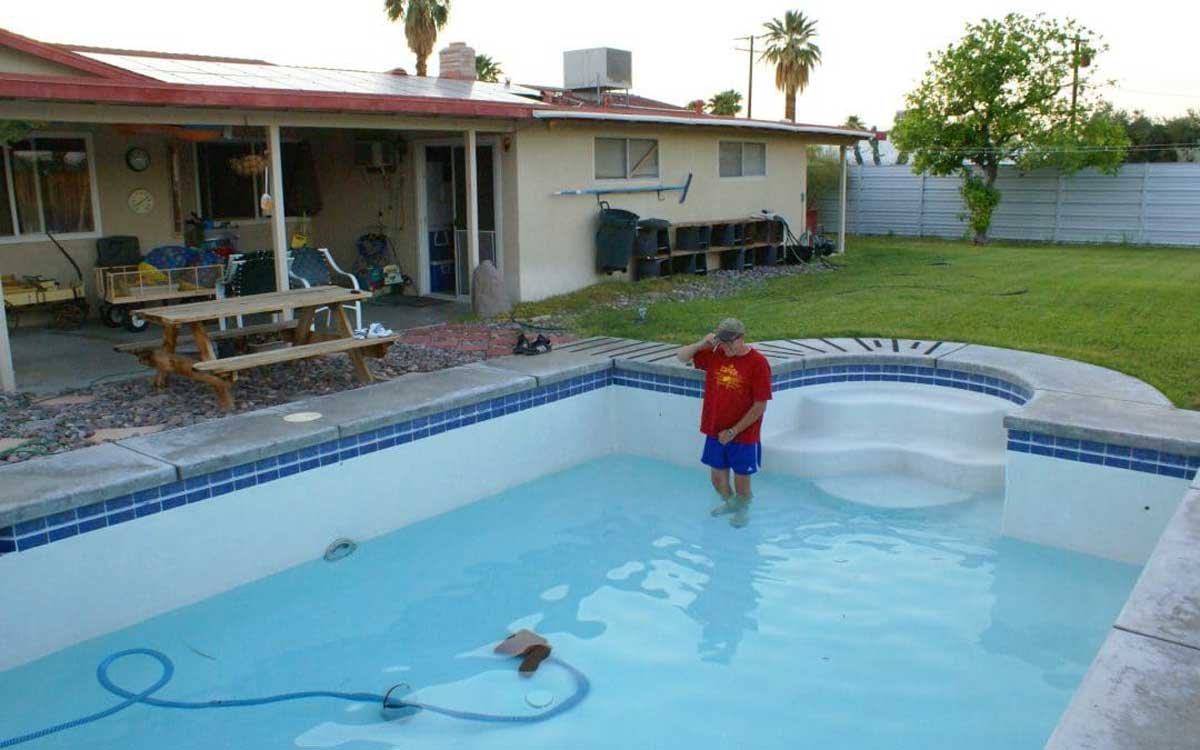
That’s why proper water disposal is important when draining your pool. Water that’s not properly directed to a sewer can increase the pressure underneath the pool. Likewise, it’s not going to be a good idea to drain your pool after a heavy rainfall.
The water can saturate the ground under and can facilitate the same environment causing the same effect. Furthermore, knowing the water table where your pool sits on is also important. An area with a high water table can push the in-ground pool without any pressure pushing the pool downwards.
We strongly suggest draining the pool using a submersible pump. If you’re going to drain it on your own, make sure to check your pool’s hydrostatic pressure relief valves. They help relieve any built-up pressure and will only have to operate the valve when the pool is mostly drained. Start by dropping the submersible pump on the shallow end of the pool and make your way to the deeper end as the water is drained. Finish by collecting any dirt and debris left on the pool.
Removing the Old Plaster
After the water is drained, the next order of business would be to remove the old plaster. This is usually done either by using the hydroblast method or the chip-out method. The hydroblast method uses pneumatic equipment to strip away a thin layer of the plaster. This is usually used when the project does not involve repairs and is mainly for aesthetic improvements.
The hydroblast method allows you to remove a layer of plaster without compromising the integrity of the existing plaster. On the other hand, the chip-out method is often done using hand tools like hammers and chisels as well as pneumatic tools like a jackhammer. The chip-out method is usually the go-to of many contractors as it allows them to remove most of the old plaster, especially when addressing structural damages.
Chipping out the old plaster allows them to expose not only the concrete, but also the rebars where they can attend to the necessary repairs. The chip-out method also exposes enough concrete to provide better bond and adhesion for the new plaster.
Fun fact. Although each method of removing the old plaster has their own sets of advantages and are used in varying situations, the National Plasterers Council actually recommends the chip-out method. In the hands of a skilled and experienced professional, the manual (and oftentimes laborious) process of chipping out the old plaster is more effective than blasting it to strip a thin layer.
In some cases, the remaining plaster is even washed with acid to etch the old plaster. The acid will eat up the old plaster and roughen the surface allowing the new plaster to adhere to the stripped surface.
Applying the New Plaster
Out with the old, in with the new. After removing the old plaster, the next part of the pool replaster process is applying the new interior. It starts by combining the pool plaster mixture, typically made out of white Portland cement and a few aggregates. And while most pool plasters come in white, you can add color-pigmenting agents to give your plaster cool or warm undertones.
If you’re hiring a contractor, talk to them beforehand as they may arrive on site with a pre-mixed solution or even mix the plaster on location. Once mixed, the plaster will be applied on the surface usually by means of a pneumatic equipment, allowing you or your contractor to spray or blast the walls of the pool with plaster.
When all the walls are covered, the plaster will be applied on the floor of the pool. If you’re applying the plaster on your own, make sure to use stilts when you walk over the new plaster so you will only leave small holes that can later be filled with plaster mix. The plaster is then compressed, compacted, and finished with a towel to achieve a smooth result.
An experienced pool professional will not waste any time and would want the pool filled with water, leaving the plaster to cure and dry out only within a day. Remember, the pool and the plaster were designed to be submerged under water and not be left to wilt and shrivel under the open sun. Leaving the plaster exposed to heat and air for prolonged periods of time can compromise the quality of the plaster and will affect its overall longevity.
Filling the Pool with Water
Once the applied plaster has reached a certain hardness to it, you can slowly fill it with water to help the plaster cure, which will strengthen the plaster. The entire startup process usually takes several hours and is usually followed up with testing the pool water’s chemistry.
And that’s it regarding the basics of what happens in the pool replaster process. So, if you’re someone who’s planning to replaster your pool, we hope that this easy and straightforward guide has helped you. And, for professional quality pool replaster services, contact one of the best in the business, Valley Pool Plaster.