
One of the positive notes of spending more time at home means that more thought and care can now go into those home projects that you have been putting off. Custom and home crafted pieces no longer require you to buy an expensive product marked up in a big box store.
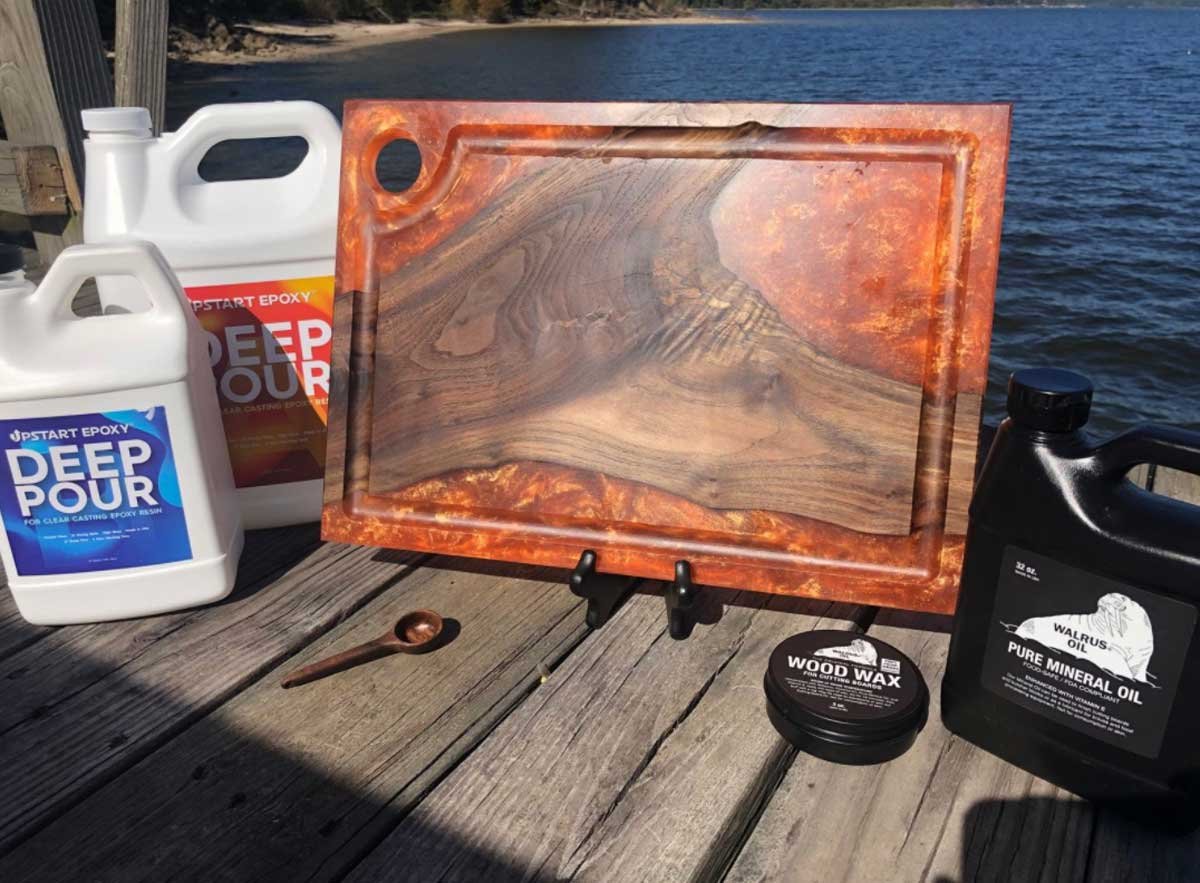
Now with American made products like Upstart Epoxy, beautifully crafted items can be made to complement your home while not breaking the bank!
The Secret to Creating Beautiful DIY Projects
Epoxy resin is a durable but flexible material that can mold into any shape or create any pattern. What makes epoxy so attractive is its ability to mix and create colors with mica powder while giving the beautiful finish associated with professional projects.
You can even pour epoxy on different materials, but for today we’ll focus on one of the most approachable ways to start exploring epoxy: brightening flat wooden surfaces.
Homemade Serving Tray
A serving tray finished with epoxy resin creates an aura of detail that accentuates your home. So let’s get started!
Material List:
- Upstart Epoxy Resin
- Wood Tray
- Measuring Cups
- Gloves
- Stir Sticks
- Straws or Kitchen Blow Torch
Step 1: Paint and Prep
Paint your wood tray in the color or design of your choosing. Once you have painted the tray, leave it aside to dry completely before moving onto the next step. If you prefer to have a natural look where the unique swirls of the wood grain remain exposed, then skip the paint! You can even combine the two techniques.
Next, you’ll want a solid base for your tray. We like to use a workbench or any sort of table that you don’t mind staining with paint or epoxy. You do, however, want to make sure that this surface is level, or the epoxy won’t dry evenly when you pour it onto your tray.
After finding a solid and level workstation, you’ll want to grab yourself epoxy resin as well as mica powder to add color. When looking for the best epoxy and coloring, find a product that is made here in the U.S.A so that you’re ensuring high-quality ingredients. Second, you’ll also want epoxy that is UV resistant. This means that you can display your tray in well-lit areas without the coating turning yellow.
Step 2: Measure and Mix Resin
Once your area is set up, it’s time to start mixing the epoxy. If you want to add color to your tray, that’s also going to happen during this step.
Measuring and mixing with care is crucial if you want to achieve your ideal color.
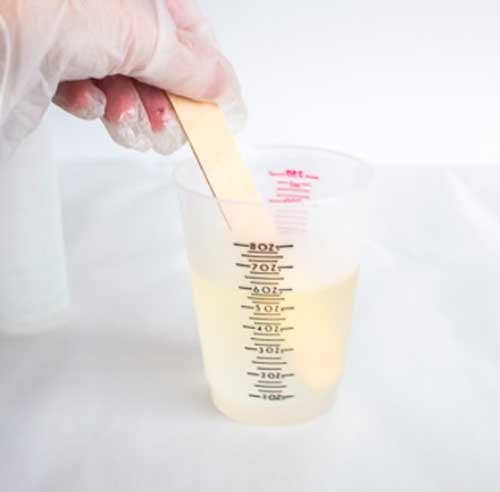
Read the epoxy’s label closely before you start mixing anything, because some products may have slightly different requirements. While there’s variation, epoxy mixing isn’t complicated–many are designed to combine the resin and its hardener in an easy 1:1 ratio.
Next, if you wish to add color to your epoxy for this project, pour a little bit of the mixture into a separate container. You can use this sample to test out different amounts or tones of powdered dye without affecting your entire batch.
Once you’re satisfied with the shade, replicate the color by mixing your mica powder into the main resin and stir until smooth.
And remember, different epoxies have different working times. Again, read the label and set a timer or keep a clock close by as you get to work.
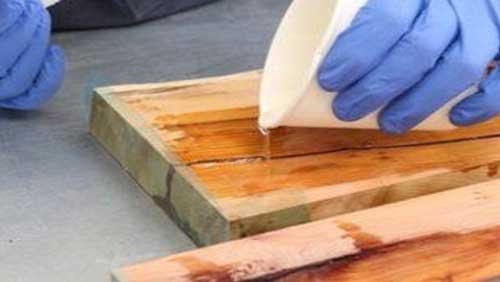
Step Three: Pour
Now that you have your colors ready it’s time to start pouring. The goal is to pour as closely as you can to the tray. The further away your pour, the more air you’re allowing to enter into your epoxy mixture which will cause bubbles down the line.
If any bubbles appear on the surface, gently blow through the straw or use a small kitchen torch to disperse and remove the bubbles from the surface.
Once you’re happy with the look of your tray it’s time to let your resin cure (aka harden). To do this, you should leave it in a protected space (no debris will fall onto it and no one will touch it) for at least 24 hours.
Keep in Mind
Epoxy resin is a great tool for professional-looking and beautiful DIY crafts. But, a little research goes a long way when you’re looking for a long-lasting product that will make your projects shine for years to come. Ensure that you find an epoxy specific to your project, that is made here in the U.S.A., and that it has plenty of positive customer reviews.