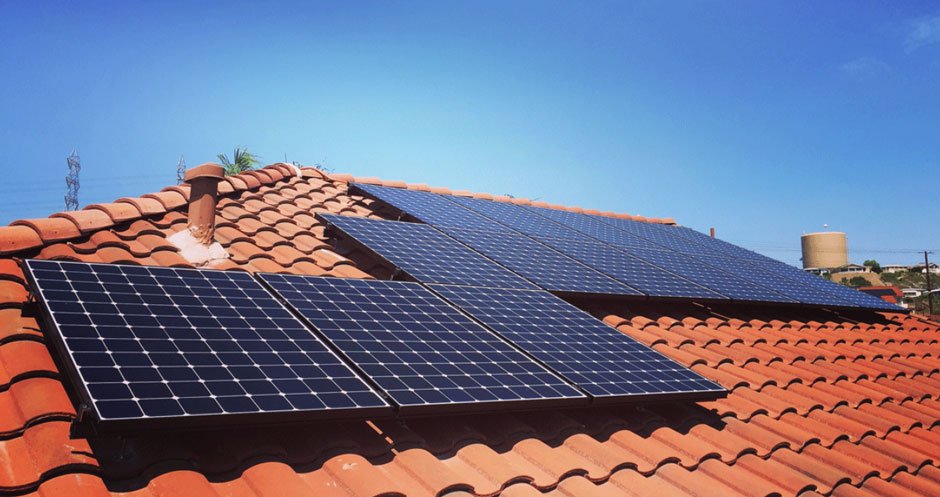
Are you ready to harness the sun’s power and go green with your energy? Installing solar tiles is a fantastic way to generate electricity while adding value to your home.
In this article, we’ll guide you step by step through how to install solar tiles. From assessing your roof to connecting and testing the panels, you’ll have all the information you need to embark on this eco-friendly journey successfully.
Let’s get started!
Assessing Your Roof
Step one in installing solar tiles is to assess the condition and suitability of your roof for the installation. Start by inspecting the structural integrity of your roof. Look for any signs of damage, such as leaks, cracks, or sagging areas. It’s important to ensure that your roof is in good shape to support the weight of the solar tiles.
As well as that, consider the orientation and angle of your roof. Solar panels work best when facing south and have a tilt angle between 30 and 45 degrees. If your roof doesn’t meet these requirements, you may need to explore other options, such as ground-mounted solar panels.
Preparing the Surface
To properly prepare the surface for installing solar tiles, you must thoroughly clean and remove any debris from your roof. This ensures that the tiles adhere properly and maximise energy efficiency.
Follow these steps to prepare the surface:
- Clear the roof: Remove any loose branches, leaves, or other debris from the roof. This prevents possible damage to the tiles and ensures a clean surface for installation.
- Inspect the roof: Check for any damaged or loose shingles. Replace or repair them before installing the solar tiles to ensure a stable foundation.
- Clean the roof: Use a broom or a leaf blower to remove any remaining dirt or dust. Consider gently scrubbing the affected areas for stubborn stains or moss using a mild detergent and a soft brush.
Taking the time to prepare the surface properly will help ensure a successful installation of your solar tiles and maximise the benefits of solar energy for your home.
Installing the Mounting Hardware
After preparing the surface, you can install the mounting hardware for your solar tiles. Begin by marking the locations where the brackets will be installed. Ensure that the brackets are evenly spaced and aligned.
Use a drill to create pilot holes at the marked locations. Next, attach the brackets to the roof using screws that are appropriate for the type of roof you have. Ensure the brackets are securely fastened to provide a stable foundation for your solar tiles.
Once the brackets are installed, you can attach the rail system to hold the solar tiles in place. Ensure the rails are level and properly aligned before proceeding to the next step.
Placing the Solar Tiles
Attach the solar tiles to the rail system using the provided connectors, ensuring a secure and stable installation. Here’s how to place the solar tiles:
- Begin by aligning the first solar tile with the rail system. Slide the connectors on the back of the tile into the corresponding slots on the rail. Make sure they fit snugly to prevent any movement.
- Once the first tile is in place, move on to the next one. Repeat the process, connecting the tiles until you have covered the desired area.
- double-check that each tile is properly aligned and securely attached to the rail system as you go along. This will ensure that they stay in place and function optimally.
Connecting and Testing the Panels
The next step in installing solar tiles is to connect the panels and test their functionality.
Start by connecting the positive terminal of one panel to the negative terminal of the next panel using the provided connectors. Ensure that the connectors are securely attached and that there’s a tight connection. Repeat this process for all the panels until they’re all connected in a series.
Once the panels are connected, it’s time to test their functionality. Expose the panels to direct sunlight and check if they’re generating electricity.
Use a multimeter to measure the voltage and current output of each panel. Make sure the readings are within the expected range.
If any panel isn’t functioning properly, check the connections and troubleshoot if necessary.
Conclusion
In conclusion, installing solar tiles is a viable and sustainable option for harnessing renewable energy, and we hope this article helped you understand how to install solar tiles.
You can successfully integrate solar power into your home by assessing your roof, preparing the surface, installing the mounting hardware, placing the solar tiles, and connecting and testing the panels.
Take this step towards reducing your carbon footprint and saving on energy costs. Solar tiles can provide a clean and efficient energy solution for years with proper installation and maintenance.

