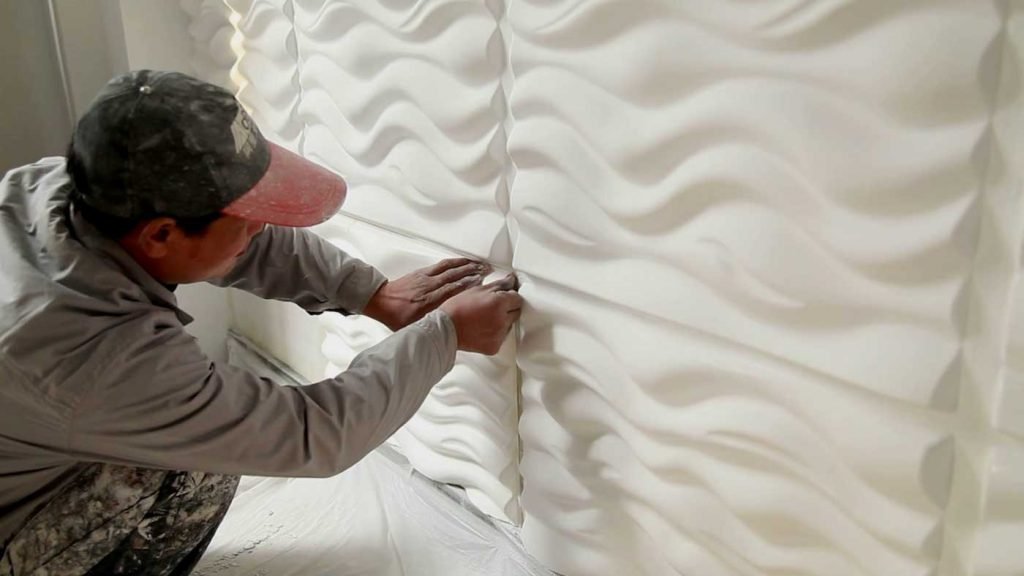
3D wall panels are the chic trend in home design right now. Most modern home interiors feature one or more of these panels within the space, and that’s quite natural. These wall panels create modern technology and innovation and have become extremely popular amongst modern homeowners for the visual appeal they add to any space. Along with that, they fit almost everywhere, come at affordable prices, and are pretty easy to install as well.
Most homeowners consider 3D wall panels for their new homes or even during home renovations and redecorations. These design items are the hottest trend in interior design and have quite literally taken the field by storm.
There are several benefits of 3D wall panels, and you must know about them to make use of these design items appropriately in your property. That being said, the way to get more information and reliable recommendations is by consulting with interior designers and 3D wall panel suppliers.
As we already said, 3D wall panels are popular for many reasons, and one of them is the ease of installation. You can pretty much do it on your own in a hassle-free manner and in a very short time if you know the right way. Next, we have discussed the key point of this blog, and that is:
How To Install 3D Wall Panels In Five Easy Steps
Installing 3D wall panels is simpler than you may have thought. Here are five easy steps you can follow to efficiently install these wall panels on your property, even if you do not have any prior experience or expertise.
Step 1: Preparing The Wall Surface
3D wall panels are suitable for flat and smooth surfaces. Ensure that the wall surface is clean, dry, and free of any debris before the installation. Acclimatize the wall panels for at least 48 hours before installation.
Step 2: Plan The Process
Planning is key to any process. Installing 3D wall panels is not an exception as well. Taking measurements accurately and then installing these panels is essential for the perfect appearance and longevity.
You can use a level to mark lines on the wall. This will make sure the lines are straight and accurate. Try to place the cut panels in the more inconspicuous areas of a wall, like the corners and the bottom. The rule is to “measure twice and cut once.”
Step 3: Installing The Panels
Determine the installation plan beforehand, as in whether it will be wall-to-wall, or a floating design or a strip of panels, etc. You can lay the panels out on the floor or even sketch if you have doubts.
Step 4: The Finishing
The finishing of the 3D wall panel installation would include a few things like:
- A primer or sealer coat after the panels are installed.
- Filling the joints for accurate and seamless installation.
- Special care for the finishing near the outlets and switches.
Step 5: Final Primer Coat
The final step is one last coat of primer and paint after ensuring that the surface is free of dust.
Final Thoughts
Following those steps, installing 3D wall panels will become a cakewalk. It’s definitely a little daunting for a person with no experience, but it’s definitely possible with the help of the steps as mentioned earlier. So, without any wastage of time, start the work and give your property the perfect appearance you had desired.

